"Orange" You Glad it's Fall Center Piece

From the pumpkins to the leaves changing colors, orange is all around, and that's not necessarily a bad thing! I am going to show you how to use a pumpkin in a creative, feminine way, to create a chic pumpkin centerpiece. It's seriously as easy as 1, 2, 3. Let's begin!
First things first, you need a mini pumpkin, or a pumpkin of any sort. I used a miniature one, because that is the size that I wanted.

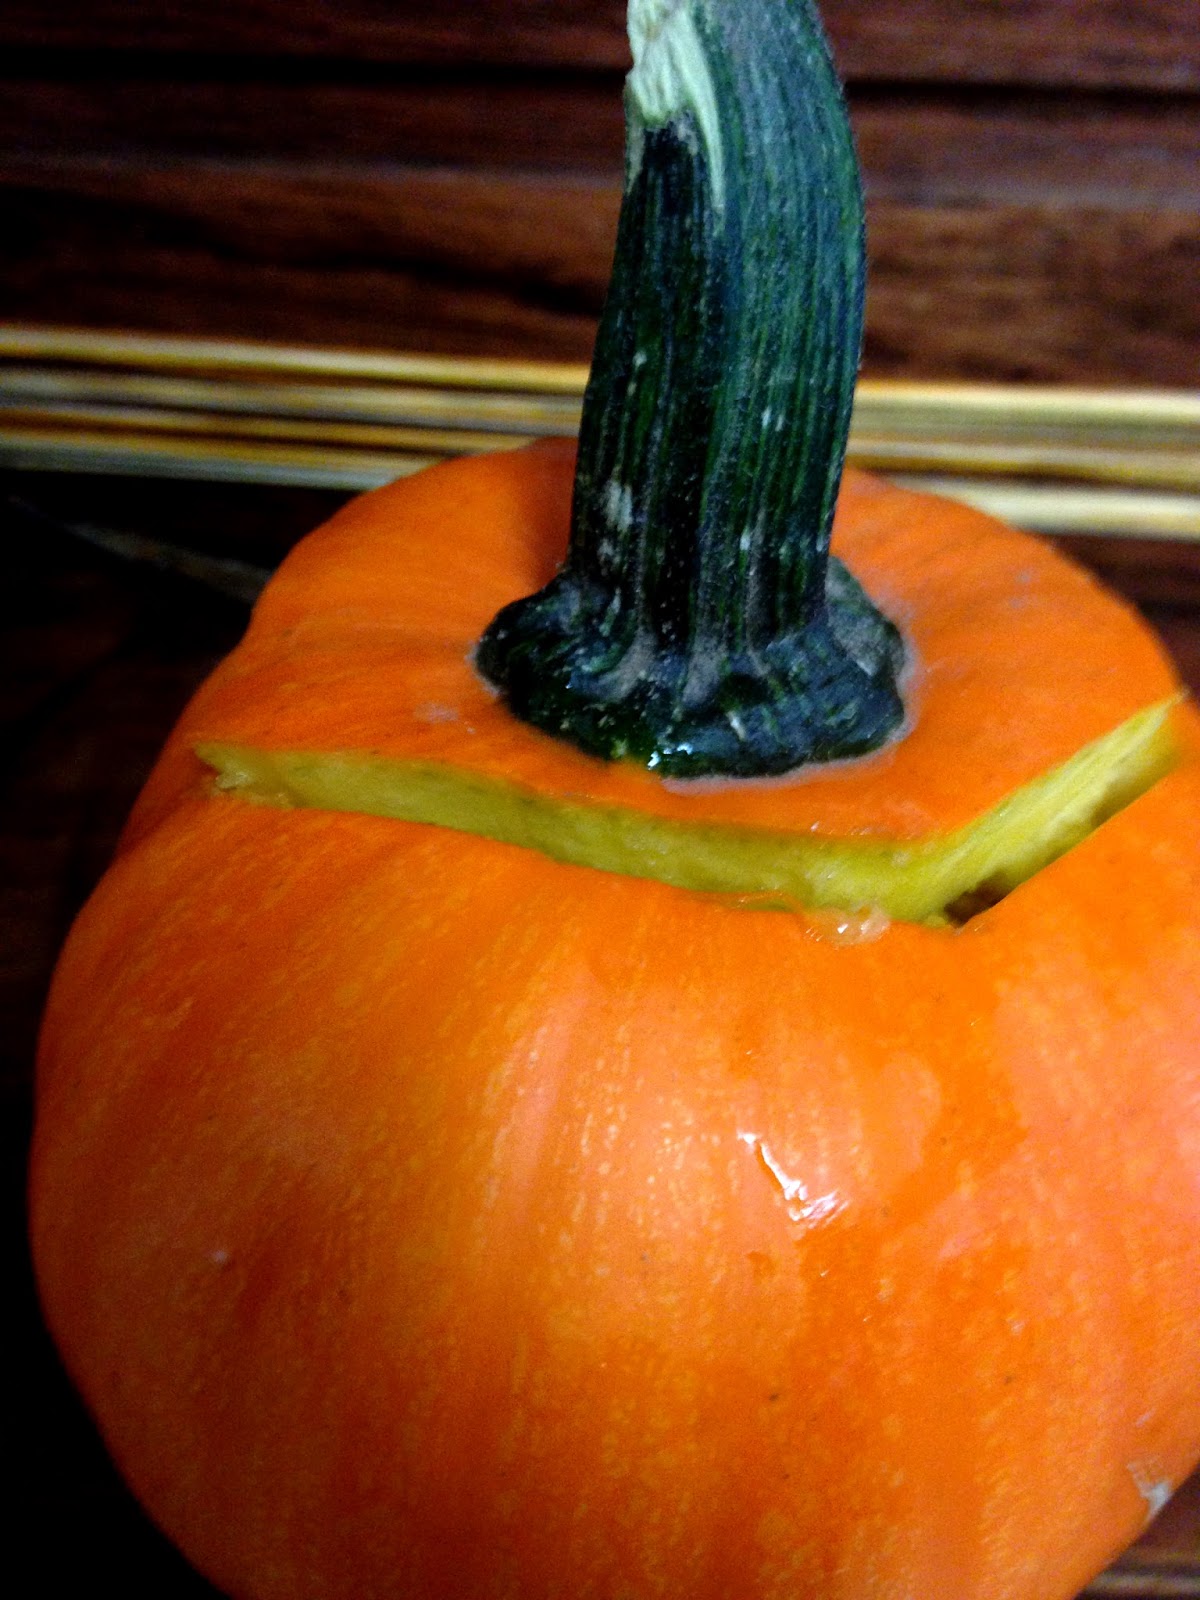
Next, we are going to carve and hollow out the pumpkin by cutting around the stem. Just get a knife and a spoon to hollow out the pumpkin. It should look like this picture below.
The next thing needed is a small side dish, or you could use a shot glass, if it is small enough. The key is to make it smaller than the pumpkin so that it can't be seen on the outside. This little dish is going to be used to put water in for the fresh flowers.


And place the dish into the pumpkin. Once it is in the pumpkin fill it with cold water to preserve the flowers. Then get fresh flowers, I used yellow because I wanted the essence of Fall. Cut the flowers to the length of your desire, and put them in the pumpkin vase.


Once the flowers are placed in the pumpkin, the previously cut stem portion will now be placed on top of the pumpkin. The reason being for this is because it keeps the flowers in place and covers up the small dish. Now you have an awesome centerpiece!
WOOLAH the finished pumpkin centerpiece, it's so darn cute!!!!

ENJOY!!

XO,
Megs


How adorable does that look! So natural and so creative...love it :-)
ReplyDeleteThanks for linking up to Marvelous Monday on Smart Party Planning.